spoons
the tape and staples keeping this game together
this info/tips post assumes you actually read all the instructions on the rgbitsy page to know how it should be used!!
this is just some things to know and keep in mind when figuring out how you want to go about your game!!!
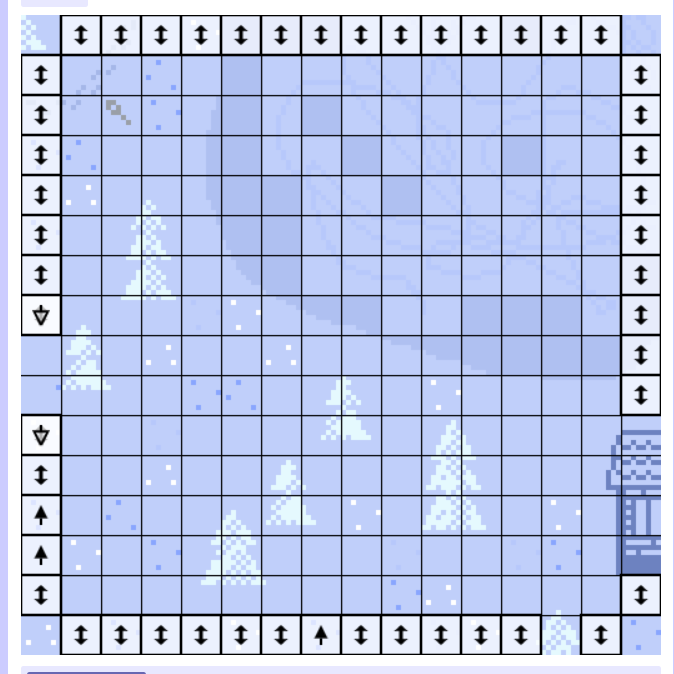
SO FIRSTLY THIS WAS MY SET UP IN ASEPRITE:
this way it was seamless!

the black lines were just like one pixel inside each screen basically lol 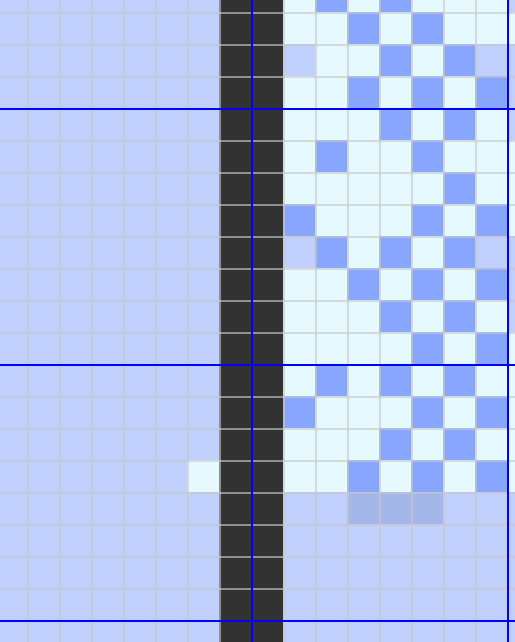
GETTING IT INTO RGBITSY:
SO FIRST, SOME TIPS:
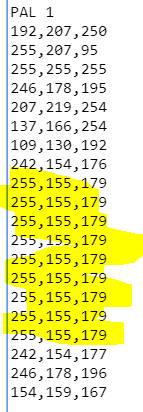
- colour palette no more than 16, also if you want nice sliding transitions plan it before so u have same order to have that consistency so unlike mine, your colours don't randomly do that colour transforming (tho that effect is really cool and can deliberately used for some cool af stuff!)
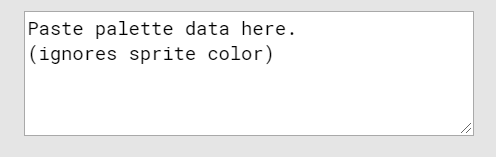
BASICALLY THERES A BOX TO PASTE YOUR PALETTE THERE TO KEEP COLOURS IN ORDER!! (i am.. a fool)
- make sure all your palettes in bitsy have the same number of colours of else you can break you exits!!!
FILL IT WITH FILLER COLOURS BUT DO IT!!!!!!
- when u change an items name to add the “_” make sure its before u put the item in the room or go change the item name in the data for the room manually adding the “_” (can break exits and the room itself)
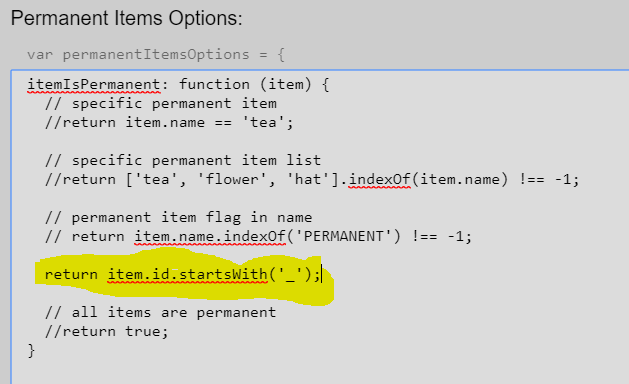
BASICALLY: rgbitsy adds a _ to the item names and then asks you to add itemIsPermanent: function (item) { return item.id.startsWith('_'); } to the transparency hack so all items with a _ will be permanent! so if you want your own items that you make after importing everything in be permanent, you have to go into the game data and do this manually!!
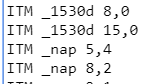 here i did that for ITM nap
here's what it looks like in borksy
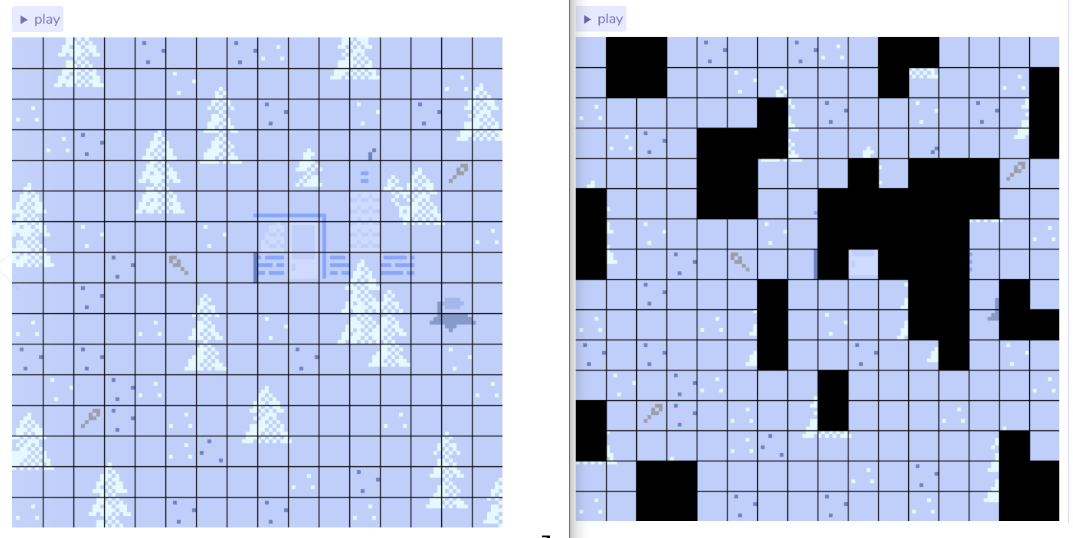
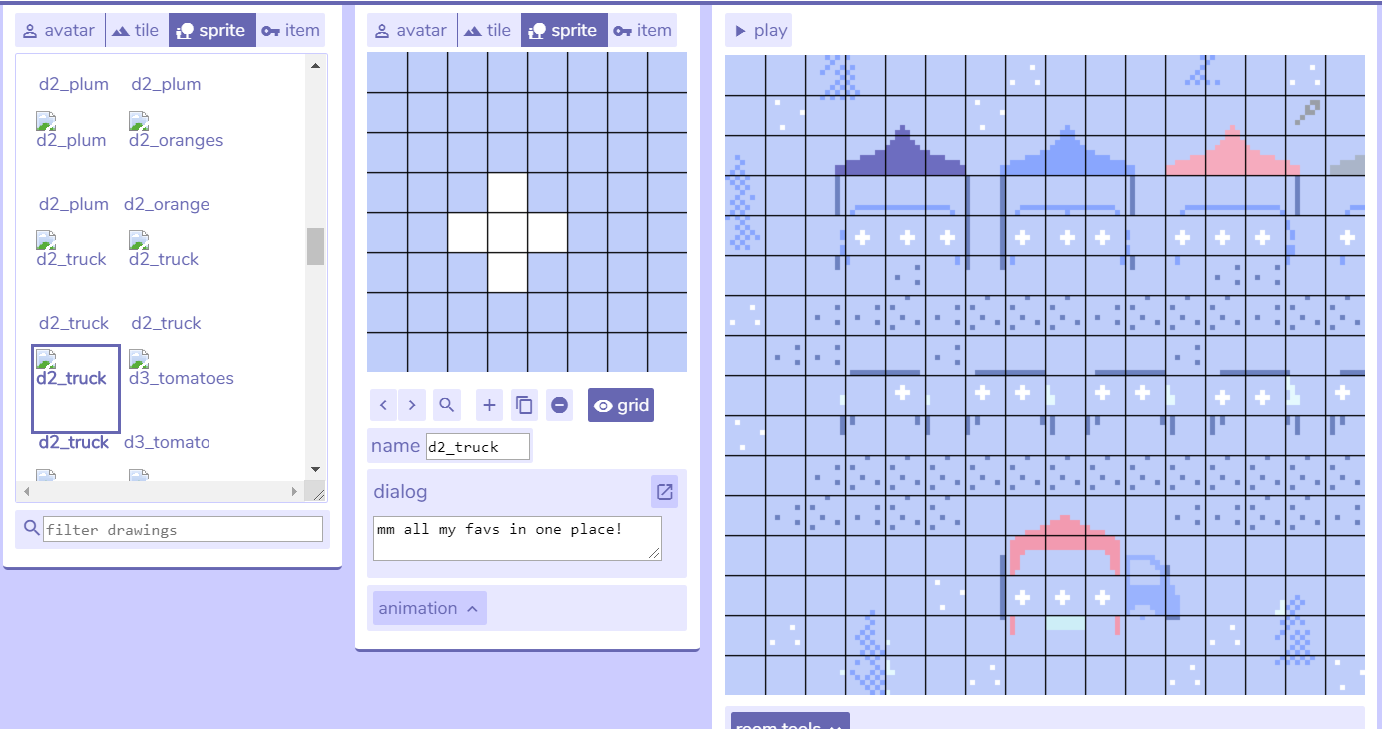
- if u pick the least colour u have or one thats not going to be used as walls for ur “tiles” then u can just have an empty tile as a wall to place behind all the items to make walls
this is an easy way to have better control over walls-- but if you know the tiles you want to be walls, just select that colour and by clicking the "make walls" check box, you can make them walls without lifting a finger!

ITS JUST ONE TILE NAMED "WALL" THAT HAS NOTHING ON IT AND IS MARKED AS A WALL!!! it goes behind all the items!!!
- add empty sprite tiles on top of the item/tiles to have sprites
- remember.... new bitsy exits can go back and forth.................. (not much of a tip but like good to remember lmao)
i_hate_myself.png
EDIT: if u dont need something to be items.. like just a floor tile thats fully one colour..... manually change it to a tile..... if u need to put an item there....... bc of like the layering on items... sometimes u wont be able to pick up the items if its more than one item on the tile.... like either u put in underneath and then can grab it-- but then u cant see it! or u can see it.. but cant grab it....... so yeah
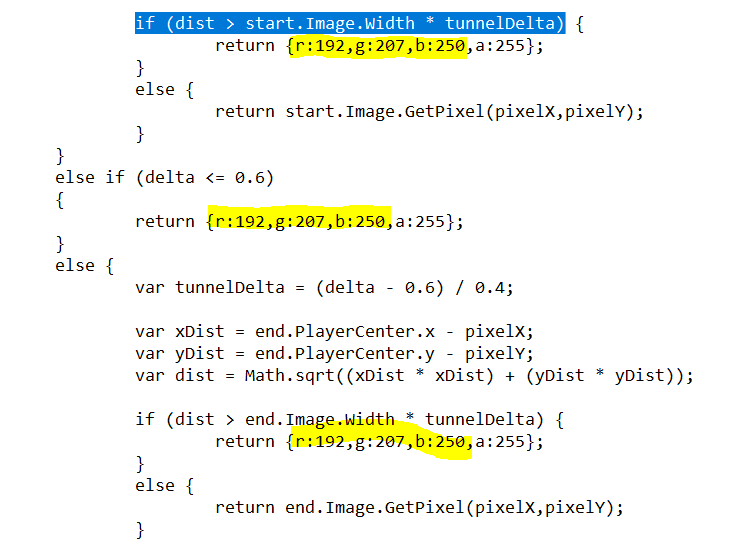
textbox colours & tunnel exit colours
THANK YOU, SEAN!!
TEXTBOX: search for textboxInfo.img.data (i just use notepad lol)
- then change the highlighted number to the numbers from the bitsy palette in the game data!

TUNNEL EXIT TRANSITION: search for if (dist > start.Image.Width * tunnelDelta) (again, yeah i just use notepad)
- change the values for the numbers from the bitsy palette in the game data!
AND I THINK THATS IT??
if you have any questions those answers you think should go here, just uh comment i guess and i'll add if need be!
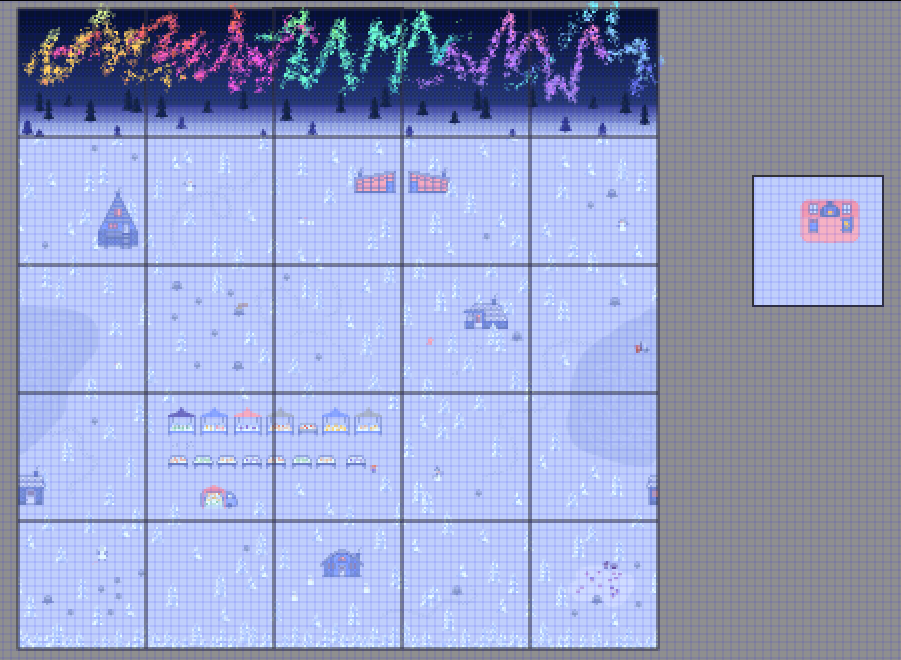
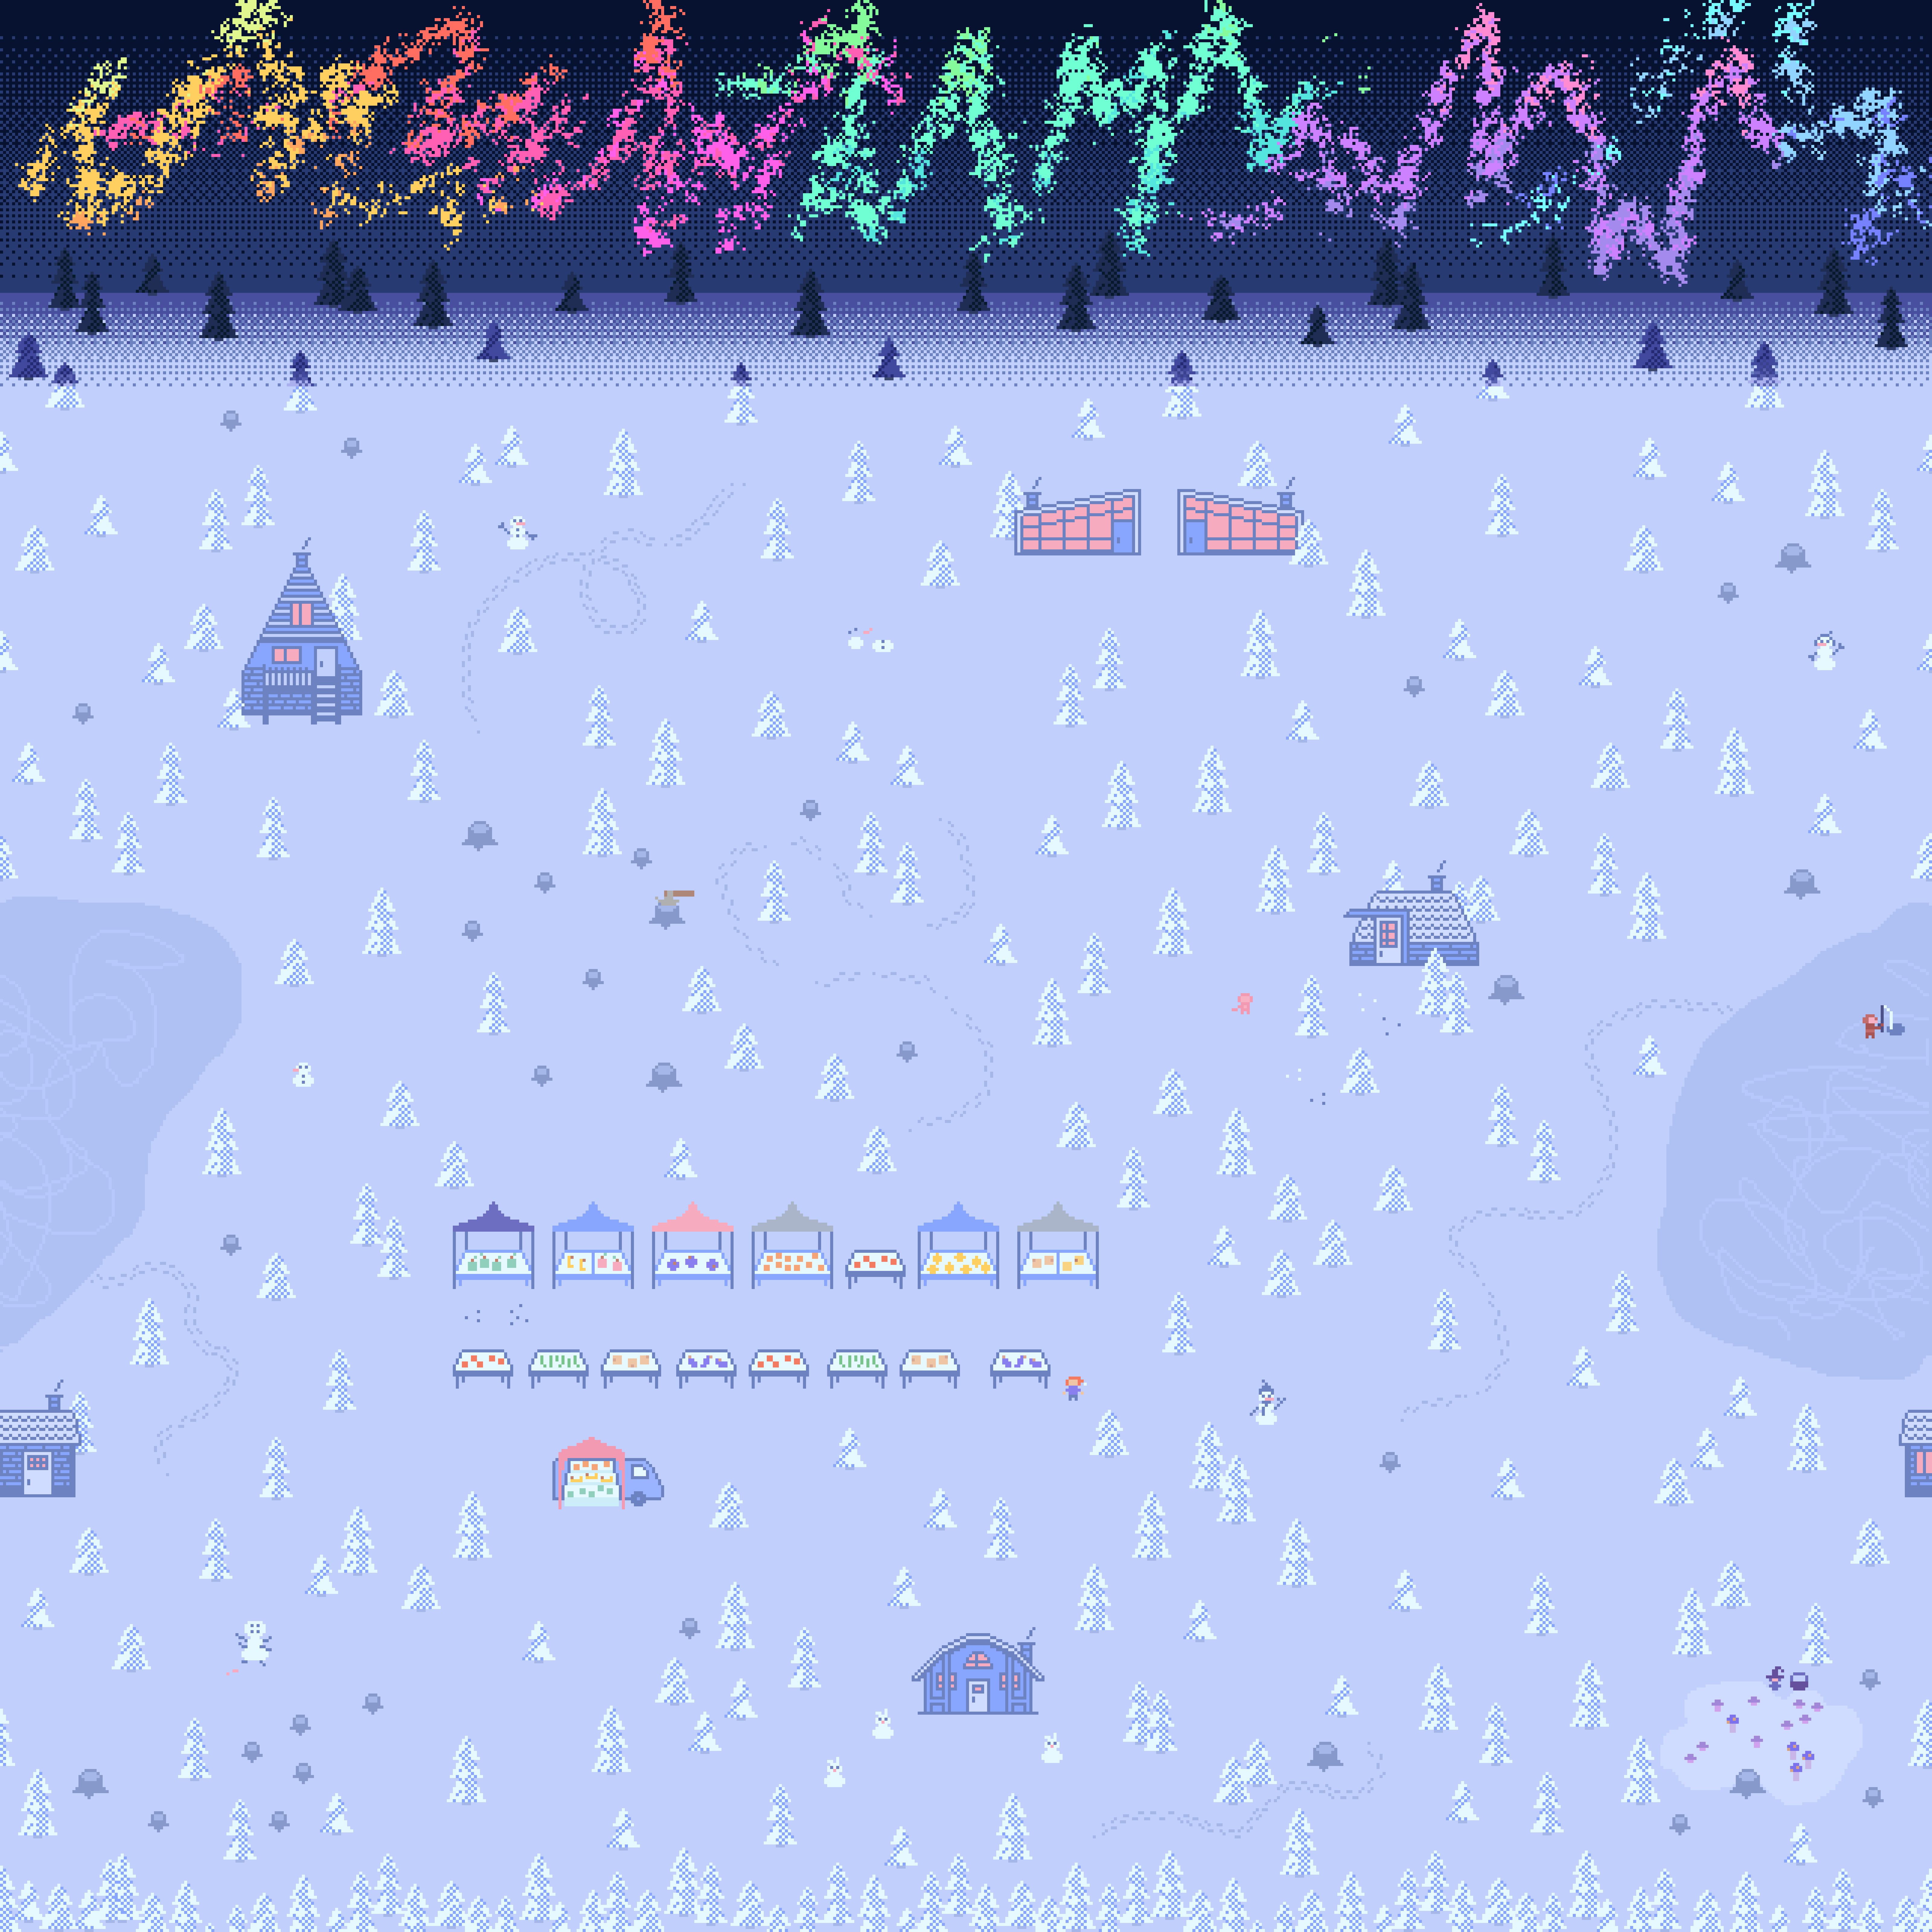
AND HERE'S THE MAP BC ITS PRETTY AND I'M PROUD OF IT:
Comments
Log in with itch.io to leave a comment.
Thanks!